Tutorial Assets
The following assets were used during the production of this tutorial.
Step 1 – Preparing the Upper Part of the Background
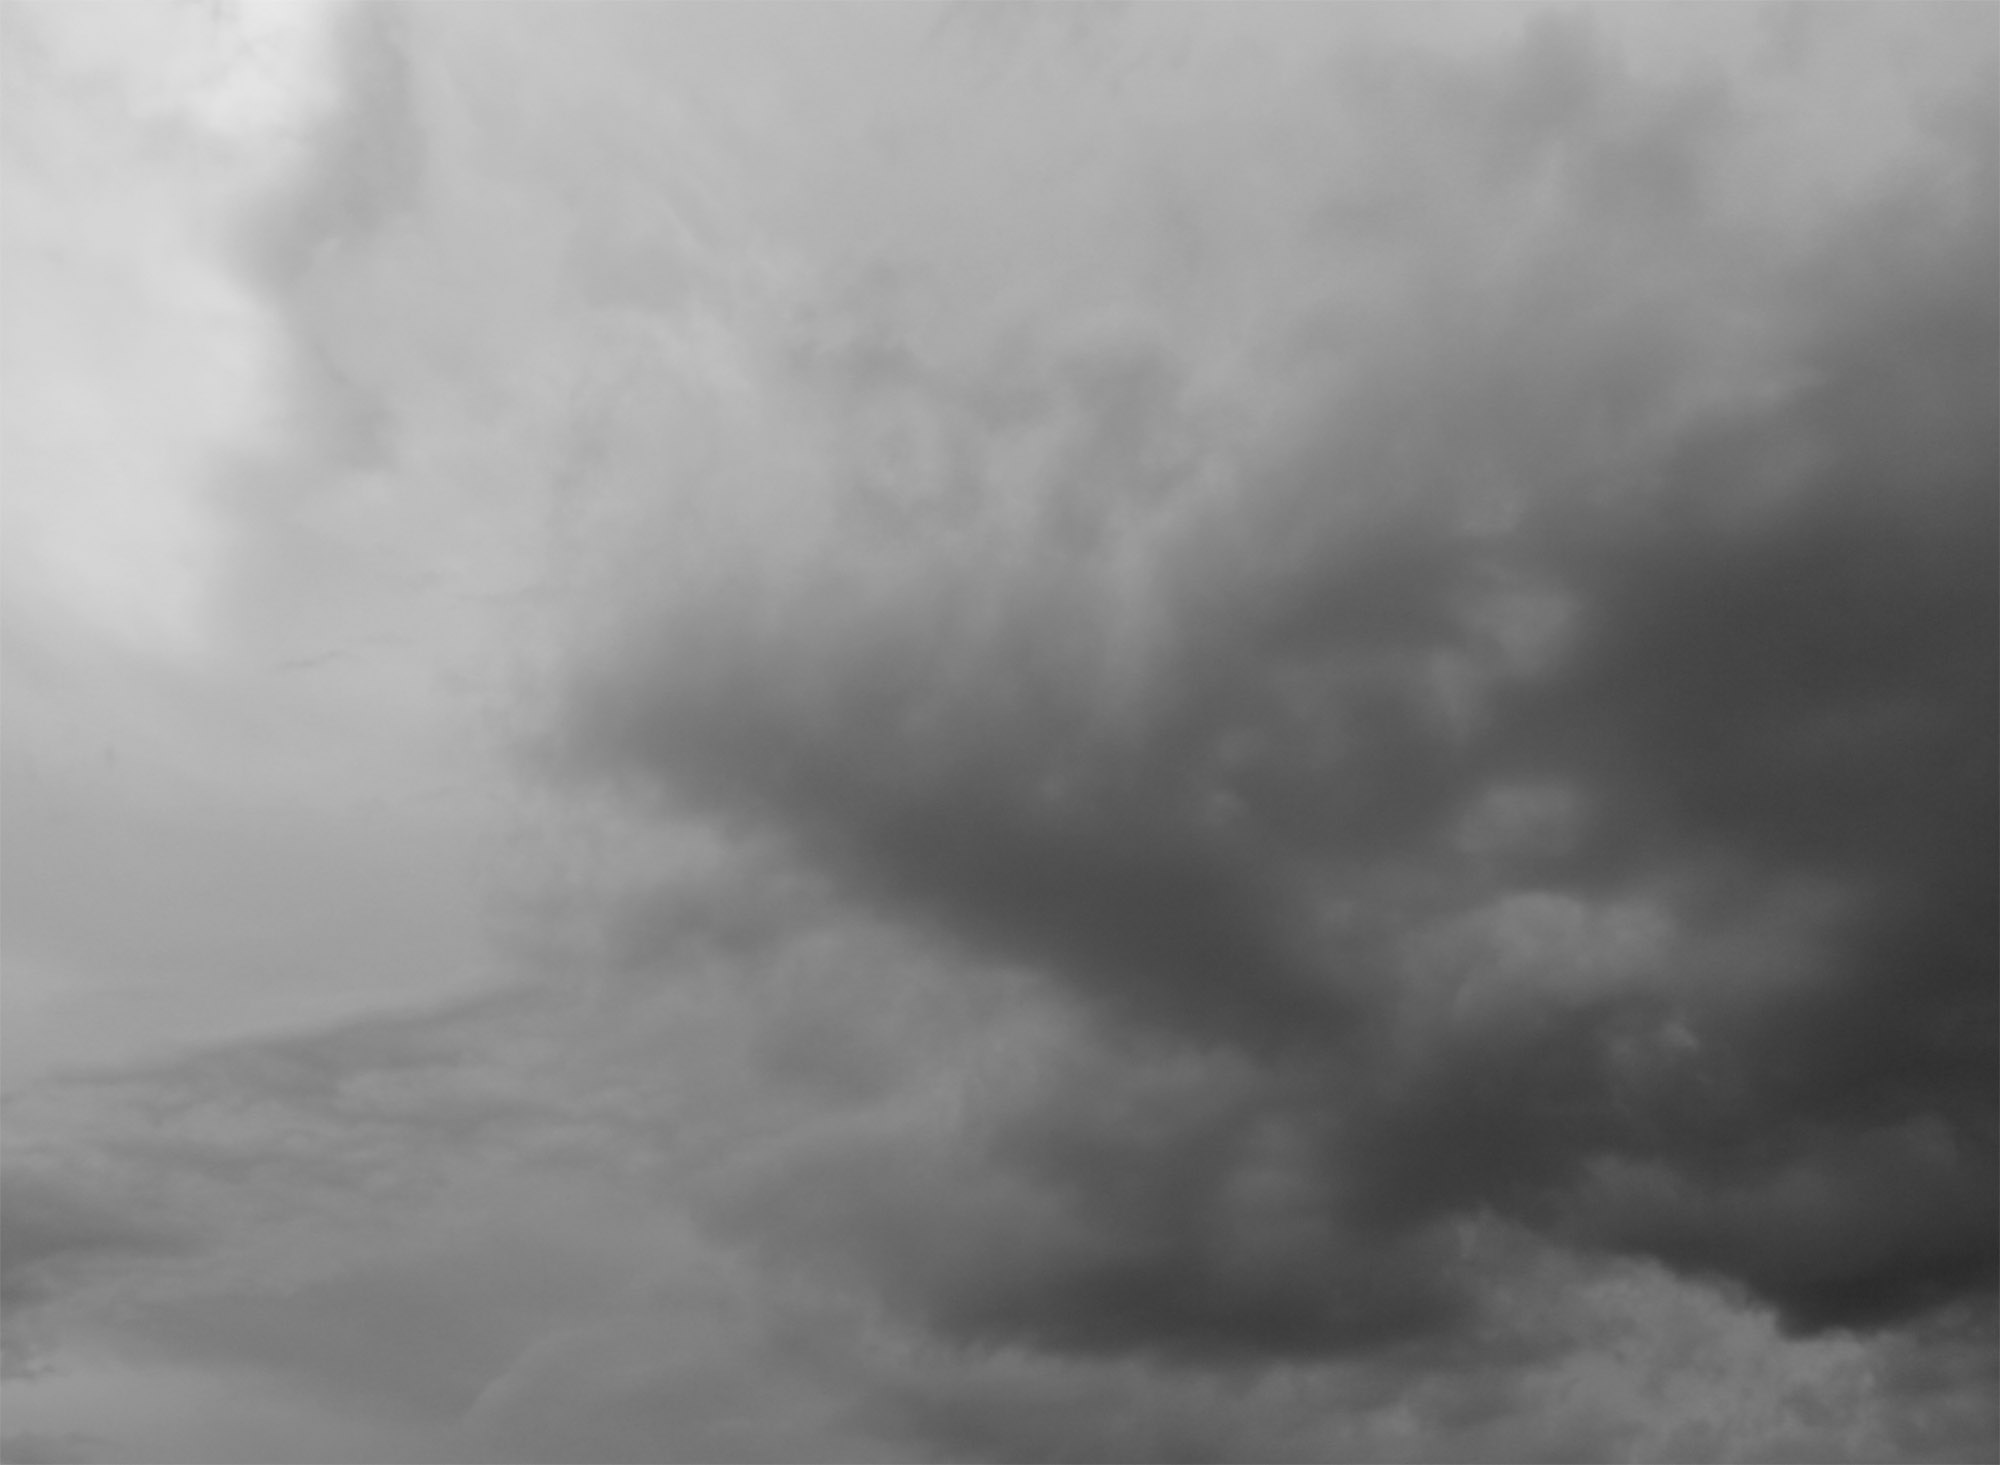
Create a new file in Photoshop. Set the dimensions on 600px (wide) and 900px (height). Download the picture of the background and drag it into the just created file. Name this new layer e.g. UPPER BACKGROUND. To set the proper size of this layer press Command/Ctrl + T on your keyboard (or go to Edit > Free Transform) and resize it on proper size. Hold Shift while doing it to remain the same proportions. To apply changes press Enter on your keyboard.Place the layer UPPER BACKGROUND to the upper part of the image.
I like the overall serene atmosphere of the stock photo. It has an enigmatic, foggy mood which I find to be especially attractive. But I also like drama in my images. To bring some drama here you’ll create higher mountains on the left and right side.
Grab the Lasso Tool (L) and select the right part of the rocks. Press Command/Ctrl + C to copy this selection and then Command/Ctrl + V to paste it. Name the new layer RIGHT ROCKS and place it above the original rocks. Below you can see an example of what I mean.

As you can see it looks very unrealistic right now. To make it better looking you need to blend it with the rest of the image.
You could do it with the Eraser Tool (E) but I have a better idea for you – using layer mask. When using the Eraser Tool (E) the erased parts are lost for good and it’s very hard to reappear them if you realize you want to do something differently. If you work with layer masks the parts are just hidden (not erased) and you can easily make them reappear.
The principle is simple: if you want to hide something, paint on the layer mask with black over that part, if you want to have something visible, paint over it with white.
Make sure you’re on the RIGHT ROCKS layer. Click on the button Add layer mask. You can find this button in the bottom part of the palette Layers. If you don’t see this palette press F7 on your keyboard or go to Window > Layers and it appears.
Grab the Brush Tool (B), select some soft round brush and set the Master Diameter on about 70 px. Lower the Opacity on 40% and pick black color. Make sure that the layer mask is active (just click on it) and start blending RIGHT ROCKS with the background.
Now do the exact same process with the left part of the rocks. On the picture below you can see how your manipulation should look like after this step.


